Make a Wedding Planning Binder
Putting together a wedding planning binder can be a great way to keep all of the ideas you have gathered in one spot where you can easily find them. If you set it up efficiently, it can make it really easy to plan out your guest lists, seating chart, and so much more.
Here’s how I set up my wedding binder. I hope these tips help you as much as they helped me.
How to Make a Wedding Planning Binder: Your Easy Step-by-Step Guide
As some of you may know, I’ve been engaged for just over a year now, and the big day is only about five months away! Since I have time off of school, I have restarted my wedding planning with gusto – so much to do, so little time!

I was clicking around various websites, reminding myself what all needs to be done in the next few months (short story: a lot!) and stumbled across the blog Just Lovely, where one of the posts details how to make yourself a wonderful binder organizer. I already had a binder on the go, but it did need a little sprucing up and organizing for quicker reference, plus the post had some great resources in it. It inspired me to do my own post detailing all of the resources I’ve pulled together and adapted for my own wedding, plus take a little stroll through my beautiful binder.
WE NOW HAVE A WEDDING PLANNING BINDER PDF PRINTABLE FOR YOU! SIGN UP FOR OUR EMAILS AND DOWNLOAD IT FOR FREE HERE: wedding planning binder
So here you go, how to create a wedding planning binder in four easy steps!
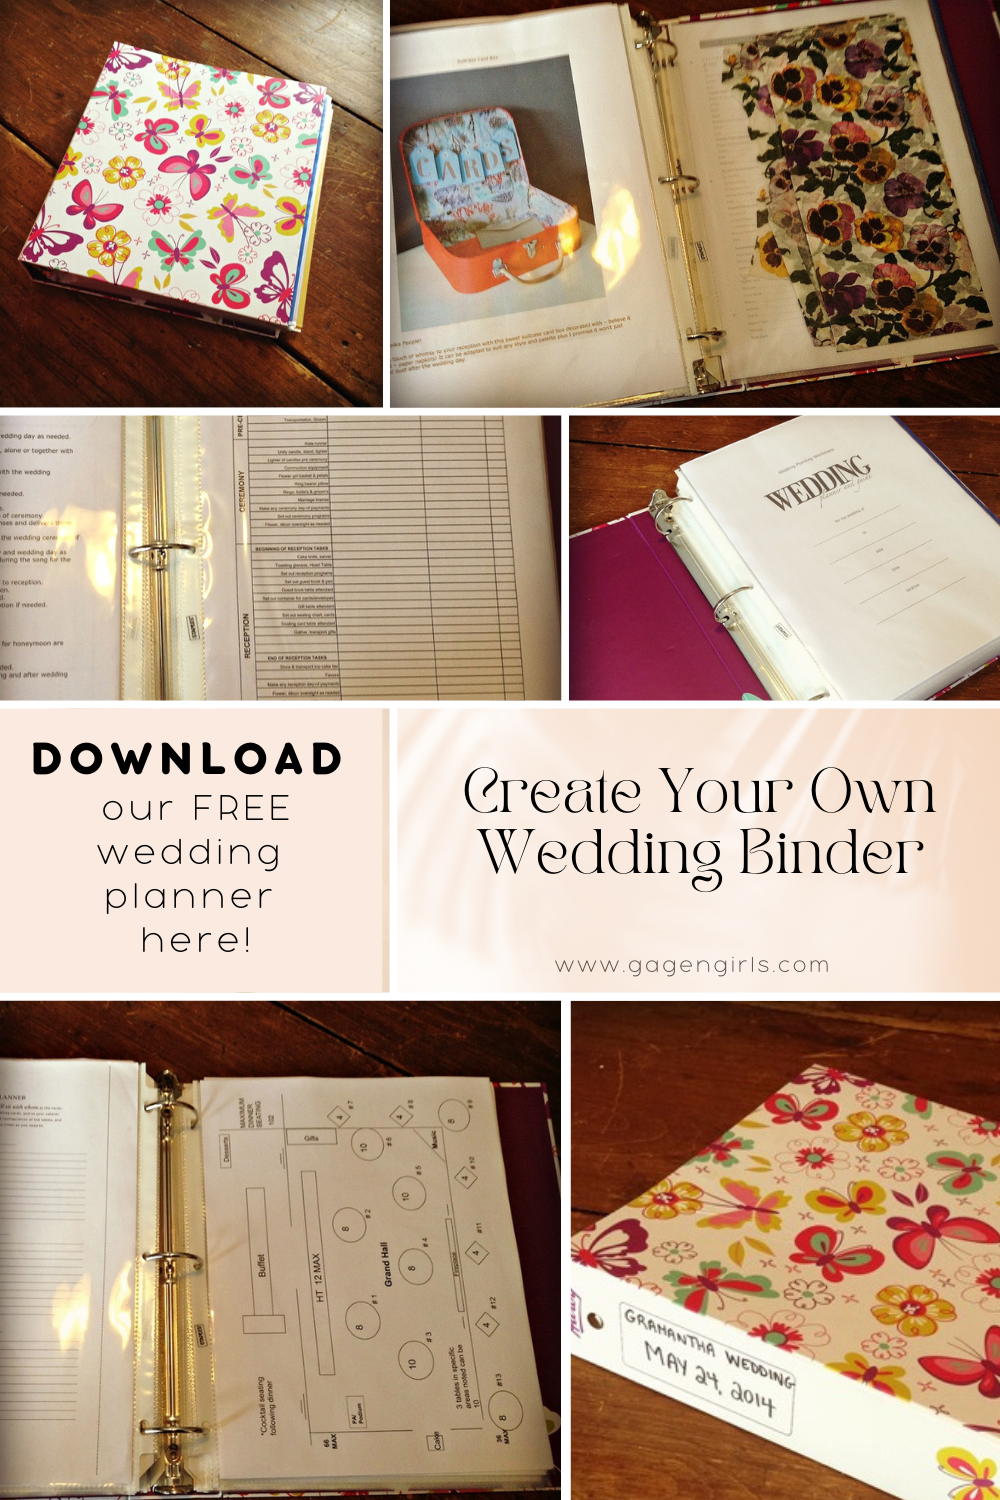
Step 1: Get yourself a super cute binder.
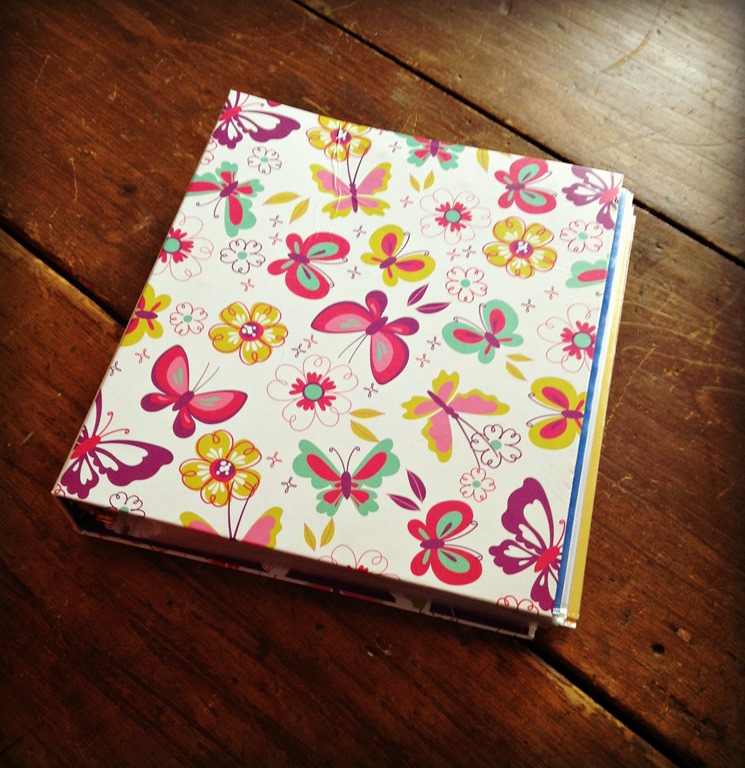
If you’ve already picked out your wedding colours and/or theme, you’ll probably want something that matches. Classic white is always an option, or just anything that suits your personality and style. I found this super cute butterfly binder that has the purples of my wedding and the pretty flowers that I want everywhere on the big day.
You’ll probably want something fairly thick – for me, a skinny binder is almost never useful. Mine is 1.5” and I couldn’t imagine it any smaller!
Now, the one thing that really bugs me (though I sucked it up because it was just too cute!) is that the rings are attached to the spine of the binder. In general, I much prefer when the rings are attached to the back cover. When you have the rings on the spine, sometimes the papers at the very back get a little squished and bent out of shape. When the rings are attached to the back cover, however, they’re not getting slid around every time you open and close the binder.
Step 2: Get dividers.

You can see the blue-edged page protector sticking out from
beneath the title page, marking the beginning of the first section.
Mine didn’t have dividers because…well, I just didn’t have any on hand. Plus I’m using page protectors, and sometimes it’s really difficult to find the extra wide dividers so you can see the tabs. So instead, I have page protectors that are coloured on the edge that mark the beginning of a new section. So far that’s been working pretty much just as well for me.
Right now, my binder is arranged as follows (I tried to arrange it more or less in chronological order):
- Important:
- Venue Info
- Timeline Checklist
- Guest List
- Attendants’ Info
- Maid of Honour and Best Man Duties Checklist
- Assignments List (Who Does What)
- Planning Guide, Customs & Traditions
- Budget Planner
- Engagement Ring Insurance Info
- Recommended Vendors
- Vendor and Details Info
- Music Checklist
- Photography Lists
- Day-Of Checklist and Emergency Kit List
- Day-Of Schedule
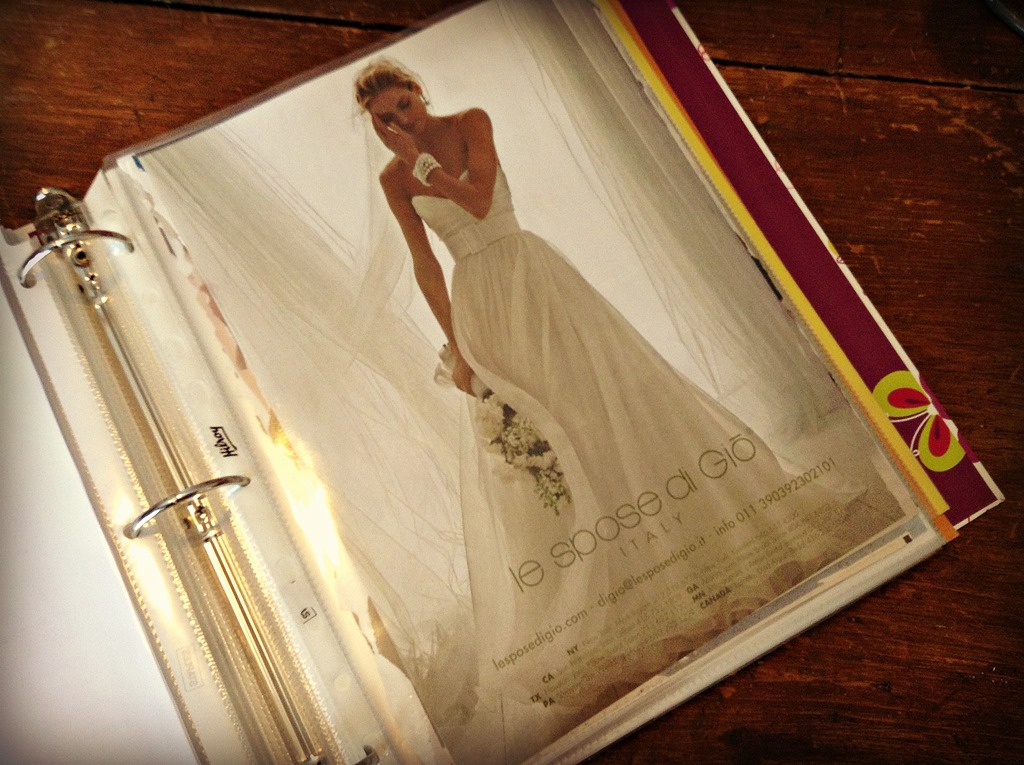
- Attire:
- Wedding Dresses
- Bridesmaid Dresses
- Veil
- Accessories
- Jewelry
- Beauty:
- Exercise
- Skin
- Hair
- Makeup
- Perfume
- Registry:
- Registries Info
- Checklist
- China Pattern
- Stationery:
- Checklist
- Wording/Etiquette Guide
- Bridal Shower:
- Planning Info
- Guest List/Gift Trackers
- Rehearsal:
- Timeline
- Checklist
- Ceremony:
- Officiant Info
- Ceremony Text
- Processional and Recessional List
- Readings
- Music
- Program
- Seating Arrangement
- Reception:
- Timeline
- Rentals
- Seating Plan
- Menu
- Cake and Cake Topper
- Beverage Lists
- Toast List
- Favours
- Music
- Décor:
- Sketches of Venue and Placement of Décor
- Flower Planner and Flower Meanings
- Centerpieces
- Escort Cards, Table Numbers, Place Cards
- Guest Book
- Other Décor: Aisle Runner, Card Box, etc.
- Inspiration (for example, I’ve tucked some tissue paper in there that perfectly matches my colour scheme and overall style)
- Honeymoon:
- Planning Details/To Do List
- Travel Arrangements
- Packing List
Step 3: Google wedding planning worksheets/checklists.

The best part of the binder is all the checklists!
The best part of any wedding planning book, be it the kind you make for yourself or the binders you can buy pre-made (which I was scared of buying because there might be sections that aren’t even applicable, and I’m a control freak), are all the checklists and worksheets onto which you can put all of your vital planning information!
There are many, many, many online sources of worksheets, plus loads you can find and adapt from books (sit in your local bookstore/library with a coffee and do your research – it’s fun!). Here are the websites I found that you may find useful:
- Real Simple (and some more from Real Simple!)
- Real Weddings
- Martha Stewart Wedding Workbook
- Forever Bridal
- Central Coast Bride
- Planning Your Wedding For Less
- Forever Wed
- Frugal Bride: Schedule for the Day, Bride’s Emergency Kit, Complete Wedding Checklist, Master Itinerary Worksheet, Photo Checklist
This post from A Practical Wedding is another great resource for getting organized that I stumbled upon in my Google journeys.
Step 4: Add and remove from binder as needed.

I’ve stuck my seating plan in there, next to a blank worksheet I can use for
arranging the guest list into their tables.
Now, I’ve taken several of these checklists and planning guides, combined and adapted them for my own purposes, and eventually created my own versions of these checklists that better suit my needs. (I’ll be posting these checklists as they finally become complete. The timeline checklist should be up any time now.)
Basically what you want to do is work through the worksheets and checklists, add in final details and print-out copies of things like the ceremony script, remove anything you don’t need anymore or that turns out to be not applicable, and just get on with the awesome planning of your awesome wedding. My binder originally existed as essentially a lookbook – pictures I had been ripping out of magazines for years, long before I was even engaged – and just helped me start figuring out what I wanted the final picture to be. I’m keeping the ripped-out-magazine-pictures of wedding dresses and bridesmaid dresses, even though those are already picked out (and none of them were amongst my magazine picture stash), purely for posterity and the off-chance/hope that my future children may want to see the binder I put together planning Mommy and Daddy’s wedding.
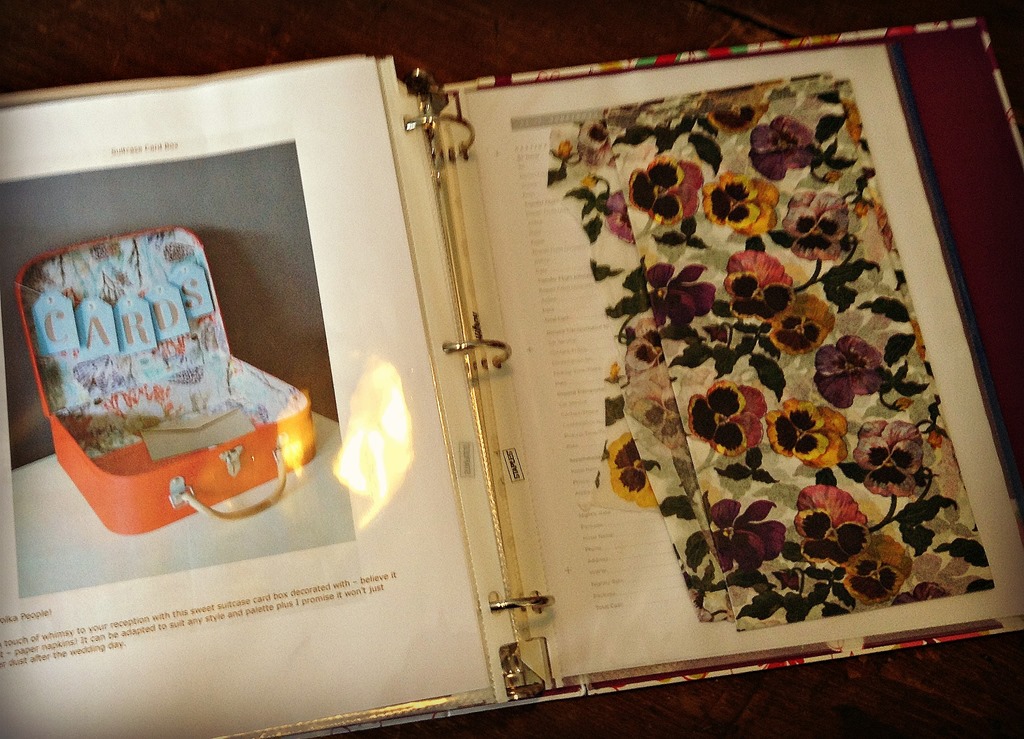
Here is the tissue paper I’ve stuck in there. It just perfectly reflects the colour
and style of my wedding!
Voila! Your wedding planning binder is ready to get you to that finish line! Now just sit back, relax, and watch as your wedding unfolds. Make sure your MOH or another trusted friend is aware of everything in the binder, and then as of the rehearsal, you can hand over the reins and trust that everything will go off without a hitch.


This is an awesome idea. I wish I would’ve put something like this together for my wedding. Congrats!
I wish I would have don this for my wedding. Soo stressful!
This is one of the best ideas I have seen! What a GREAT gift. I am creative, and I love scrapbooking, so this is right up my alley!!! THANK YOU!
Congratulations on your impending nuptials! 🙂
My advice – make your motto for the day “eff it”. If it ain’t done, ready, perfect… If something goes wrong… If someone is a troll… if something is forgotten… it doesn’t matter. You won’t be able to do anything about it right then. Just enjoy your day. Nothing ever goes perfectly as planned. You choose for it to be perfect. Perfectly imperfect. And the things that don’t go exactly as planned will make for great memories and laughs later.
Make sure you take a few minutes of “time out” during the day just to be silent and quiet and take it all in.
This is very helpful, I wish I had this when I got married.
This looks just like mine did (yours is nicer and more thorough)! This is the best way to do it because it’s completely personalized to ‘your’ wedding and ‘your’ day. This is such good advice, I will have to remember this for my daughter’s day.
Congrats on your up coming wedding. In Feb. my husband and I will celebrate 23 years.
You are so organized with a Wedding Binder that’s got a unique cover. I like the categories which you’ve outlined. This is one way to contain all the bits and pieces and not leave an important part until the last minute. Are you sure you’re not a Wedding Planner? You’ve got the know how and savvy.
Oh this is so great. The organization here is just amazing. Whenever the heck I get engaged I will totally be using your example here!!!
super cute! i never even thought of this for some reason,, i love the idea of making it your own! but i like the list you made because it incorporates everything!
This would also be a great way to organize school work! Cute too!
So informative and useful! Thank you!
This is very cute. My best friend did this for me, at my wedding. Best keepsake ever!
Thanks! Following this as I make my DIY wedding binder now!
Congrats to you!
You’re awesome! Thanks for this, and congrats on your nuptials.
Remember that it is the decades together that make the marriage not just the wedding day. It is a big day but don’t forget why you are doing it. Don’t forget to enjoy your wedding day and the many happy years to follow.
The only, and I mean only, thing I would add is a Ringbearer and Flowergirl tab 🙂 Otherwise I’m totally using this to create my own binder! Thank you so much!
Did you ever get to put up the worksheets you created? I cant seem to find htem
Congratulations on your nuptials! I will be definitely be using your step by step wedding binder ideas!!!
I want to become a wedding planner and this is a very good site for me
Soooo helpful!!!! I love it!!! I can actually create a worksheet in Excel – love the suggestions – makes it fun planning. 🙂
I’m so glad you found it helpful. It was invaluable for our wedding!
Awsome Help, I was stressed out since aug 2015 when I got engaged from then to just now trying to get everything together. It has been hectic many things I missed and with this checklist its been blissful. Love it Thank You!!!
I’m currently planning my mother-in-law’s wedding as i love weddings and im super organised. I LOVE LOVE LOVE this so much its so detailed and is exactly what I was looking for. Thank you!
Thank you for such an awesome post. This is an amazing way to stay very organized for a wedding!
This is going to be so helpful for my wedding planning!! Thank you for sharing this I can’t wait to use this for my wedding planning!
You
I’m so glad I ran into your blog! my wedding is next year… this is exactly what I was looking for to get me organized