
How to Make Pumpkin Puree in 3 Easy Steps

We are firmly into fall and the internet has been going nuts over pumpkin spice for well over a month now. I’m here to tell you that you don’t need to depend on canned pumpkin – making your own pumpkin puree is super easy!
I’m not the biggest lover of pumpkin – when it comes to Starbucks, I hold out for the Gingerbread Latte. However, when Thanksgiving and Christmas roll around, I definitely want to see at least a little pumpkin (preferably in the form of a dessert!).
There are so many great uses for pumpkin puree, even beyond the holidays.
Our dearly departed dog, Trinity, ate pumpkin quite often. She had allergies and pumpkin is a great hypoallergenic food for dogs.

Pumpkin puree is also a great food for a dog’s upset tummy. Any time Trinny felt a little queasy, we switched her diet entirely to pumpkin puree and boiled chicken.
(Just make sure if you’re giving pumpkin to your dog, it’s either pumpkin puree you’ve made yourself or the cans of pure pumpkin. Please do NOT give dogs canned pumpkin pie filling.)
Now that I’ve got kids, I have even more reason to make my own pumpkin puree. Like most “orange foods,” pumpkin is a superfood LOADED with healthy nutrients.
How to Make Pumpkin Puree
Getting Started: Choosing the Right Pumpkins
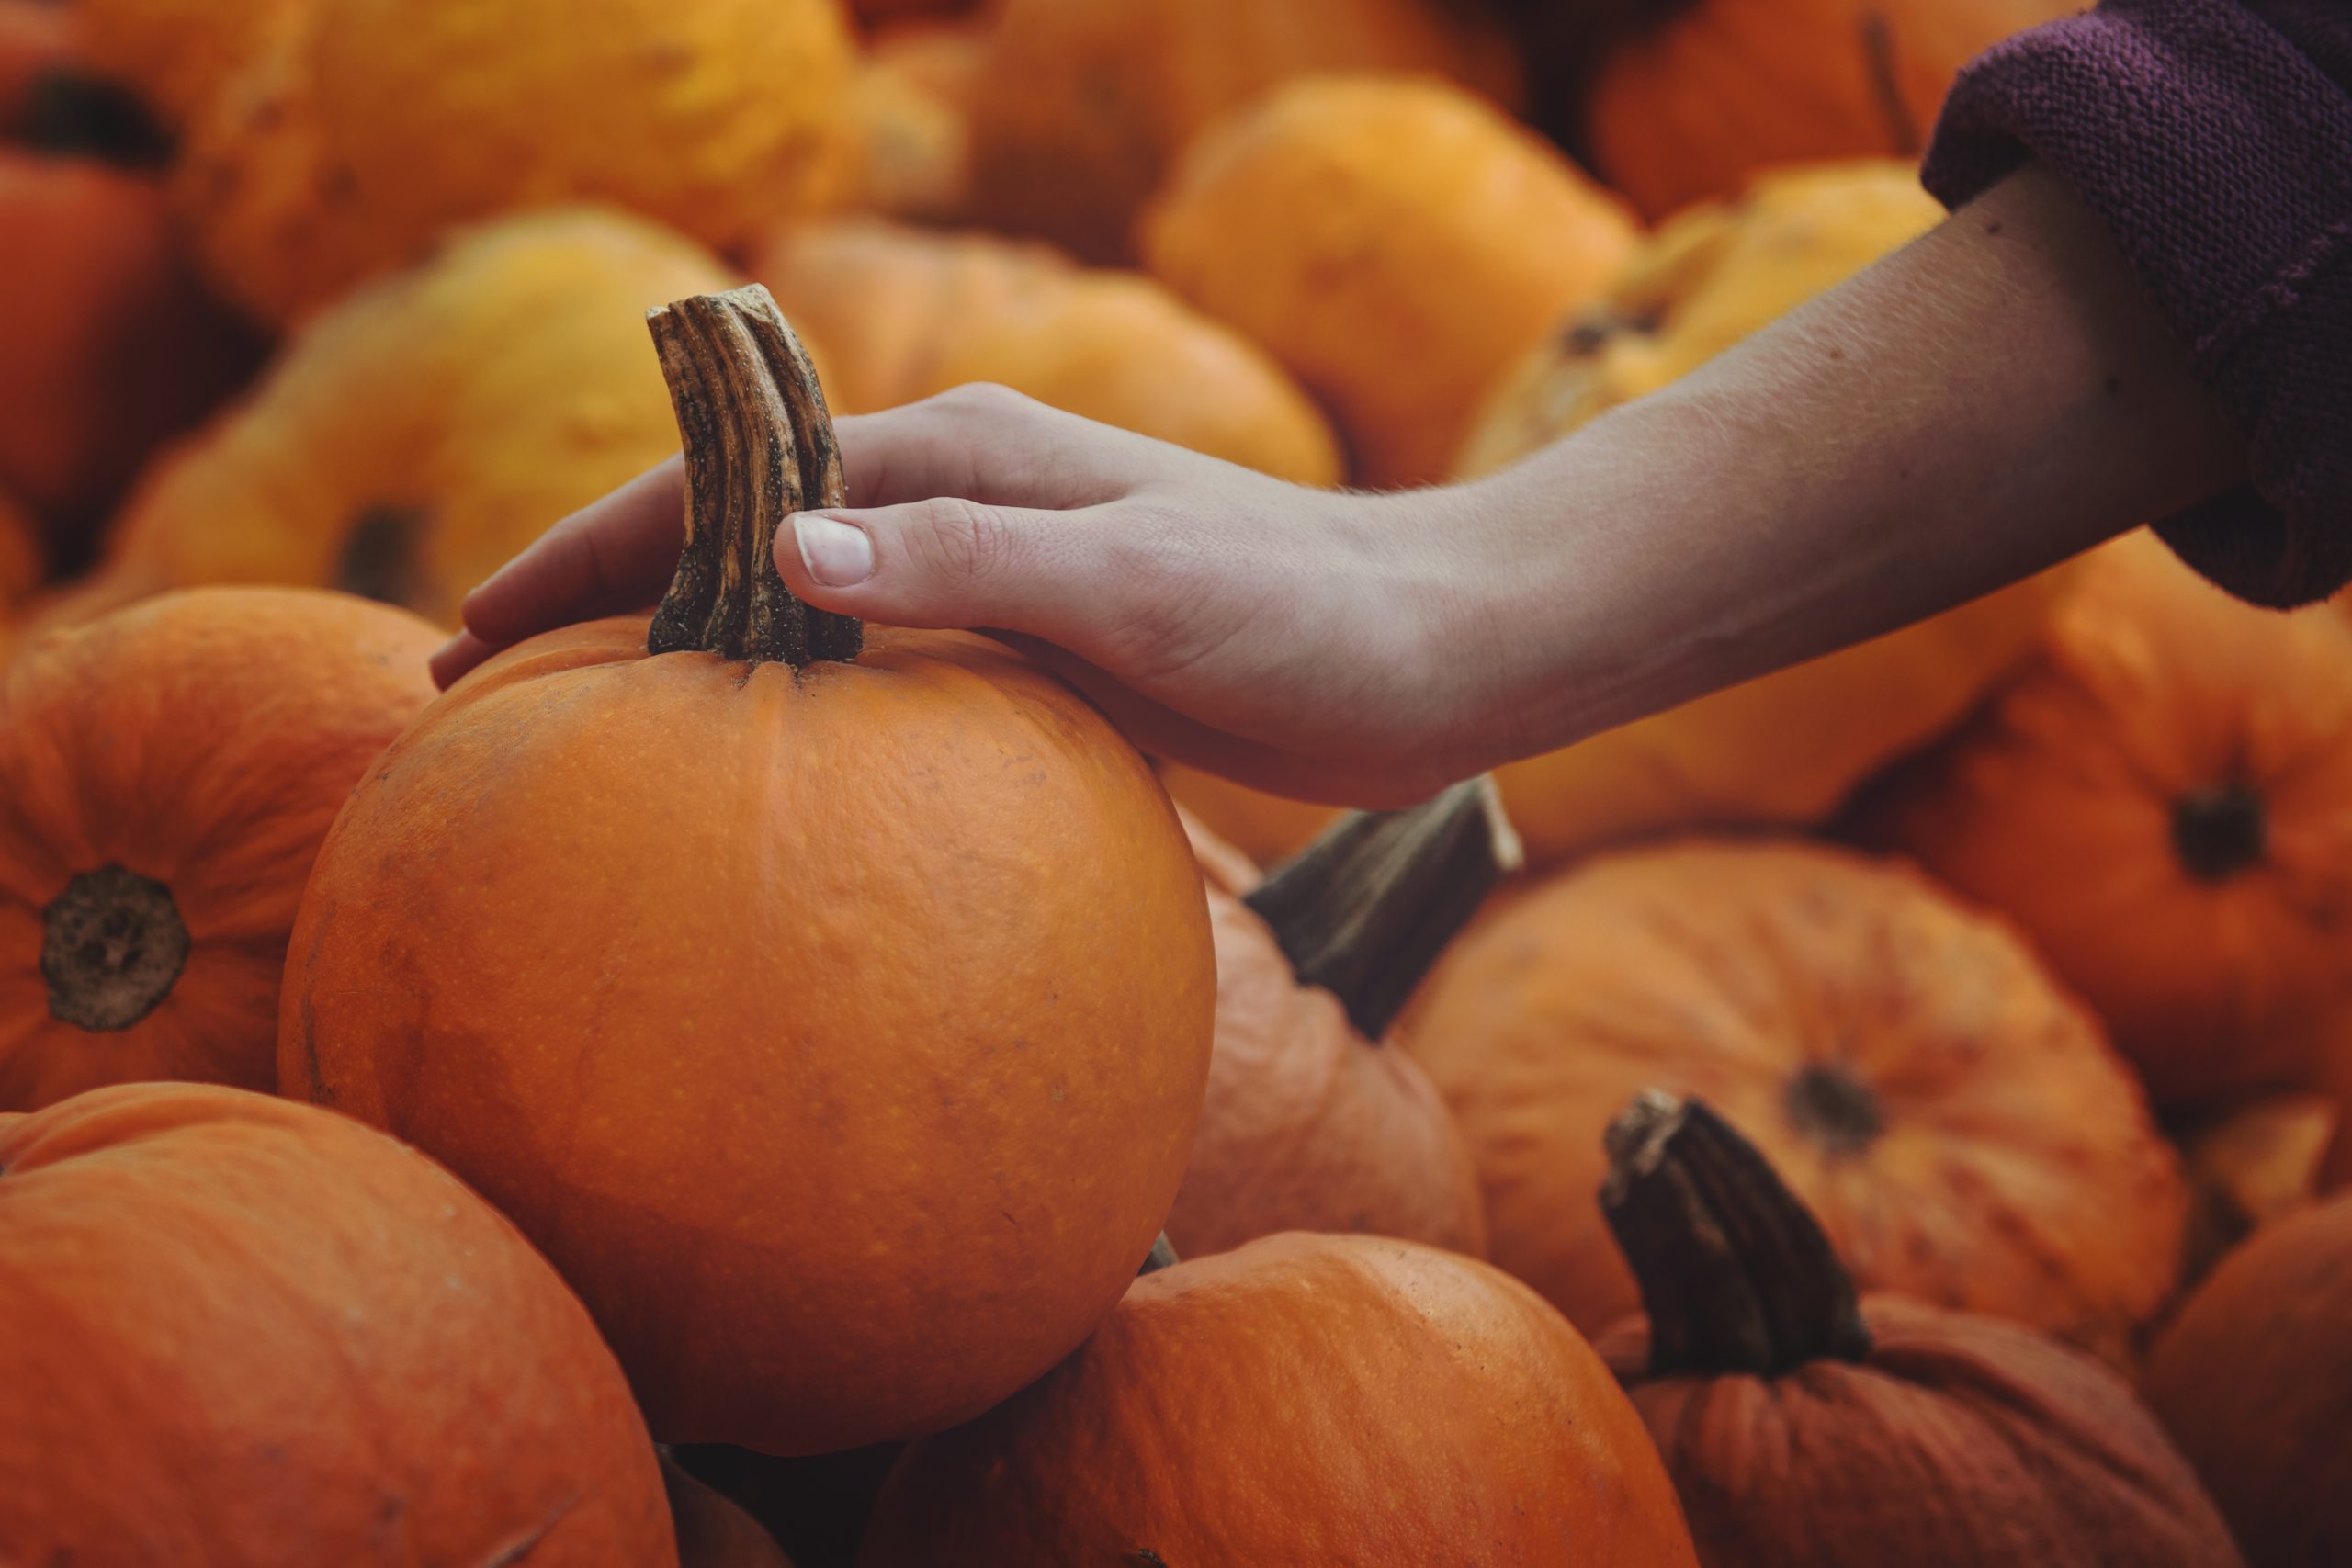
First of all, you need to make sure you’re selecting the right pumpkins. You want the little pie pumpkins (also called sugar pumpkins, baking pumpkins, etc.).
One of these little pumpkins will yield plenty of puree for any recipe you need. For example, my little 3 lb pie pumpkin equated to about 2 1/2 cups of puree.
Once you’ve got your sweet little pumpkins, you’re ready to go!
Step 1: Slice and Scoop
Preheat your oven to 400 F. Prepare a baking sheet by covering it with either nonstick foil or parchment paper.
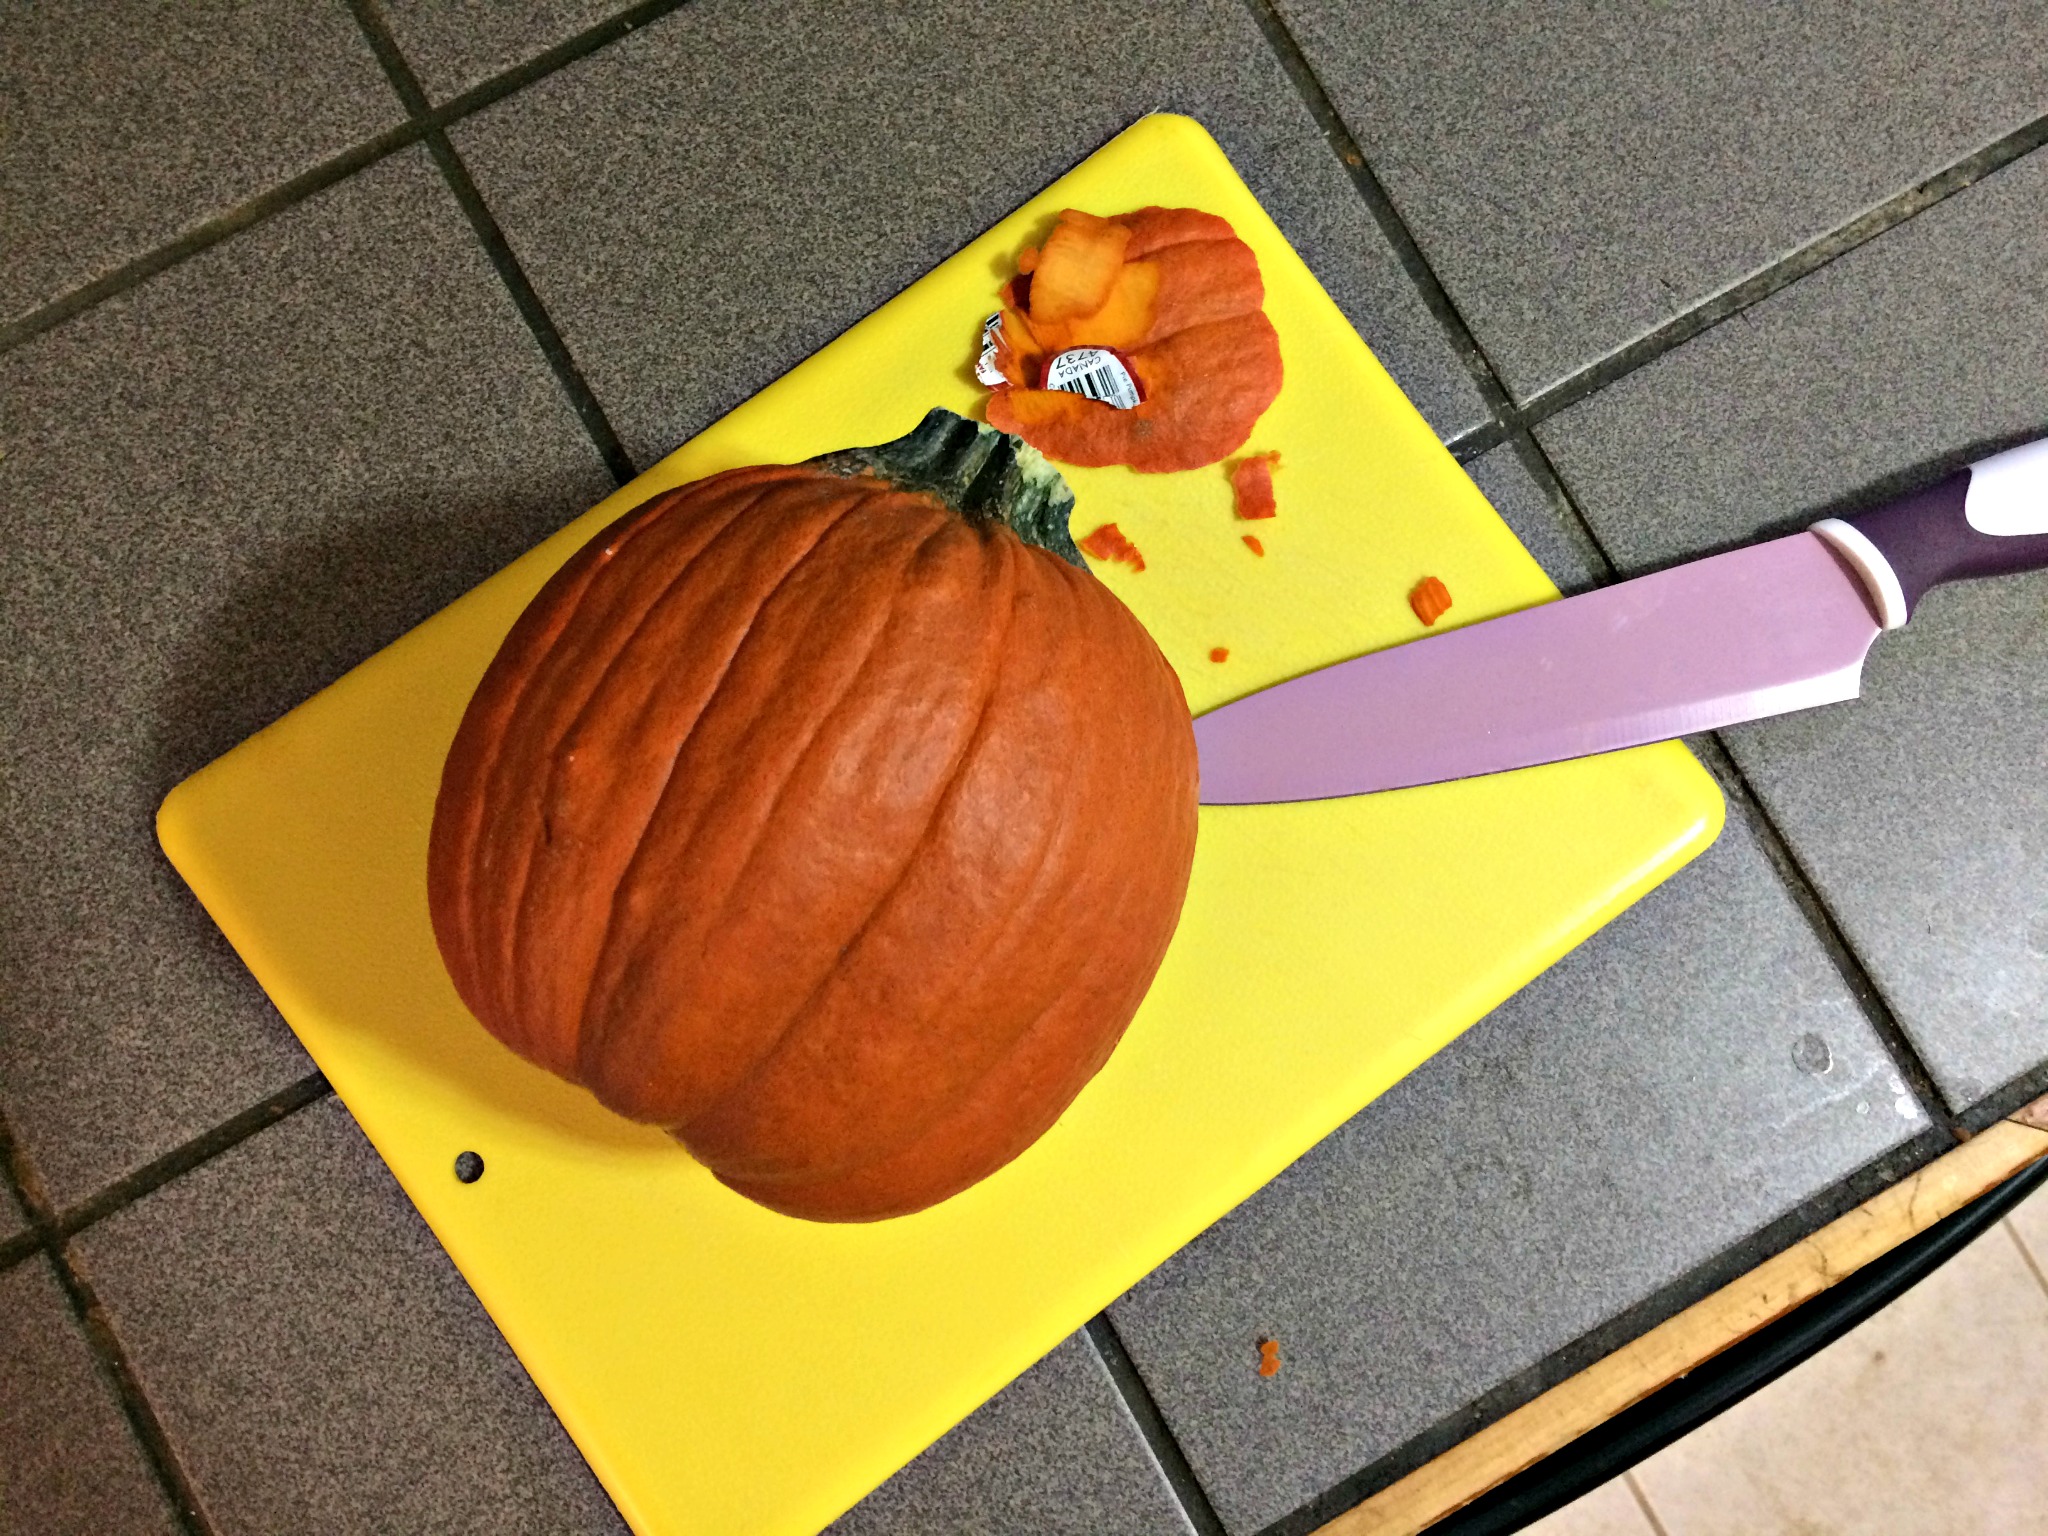
Here’s a little trick so your pumpkin doesn’t go wobbling all over the place: slice some skin off of one side so it will lay flat on its side! That was a really handy trick, I’ll tell you.
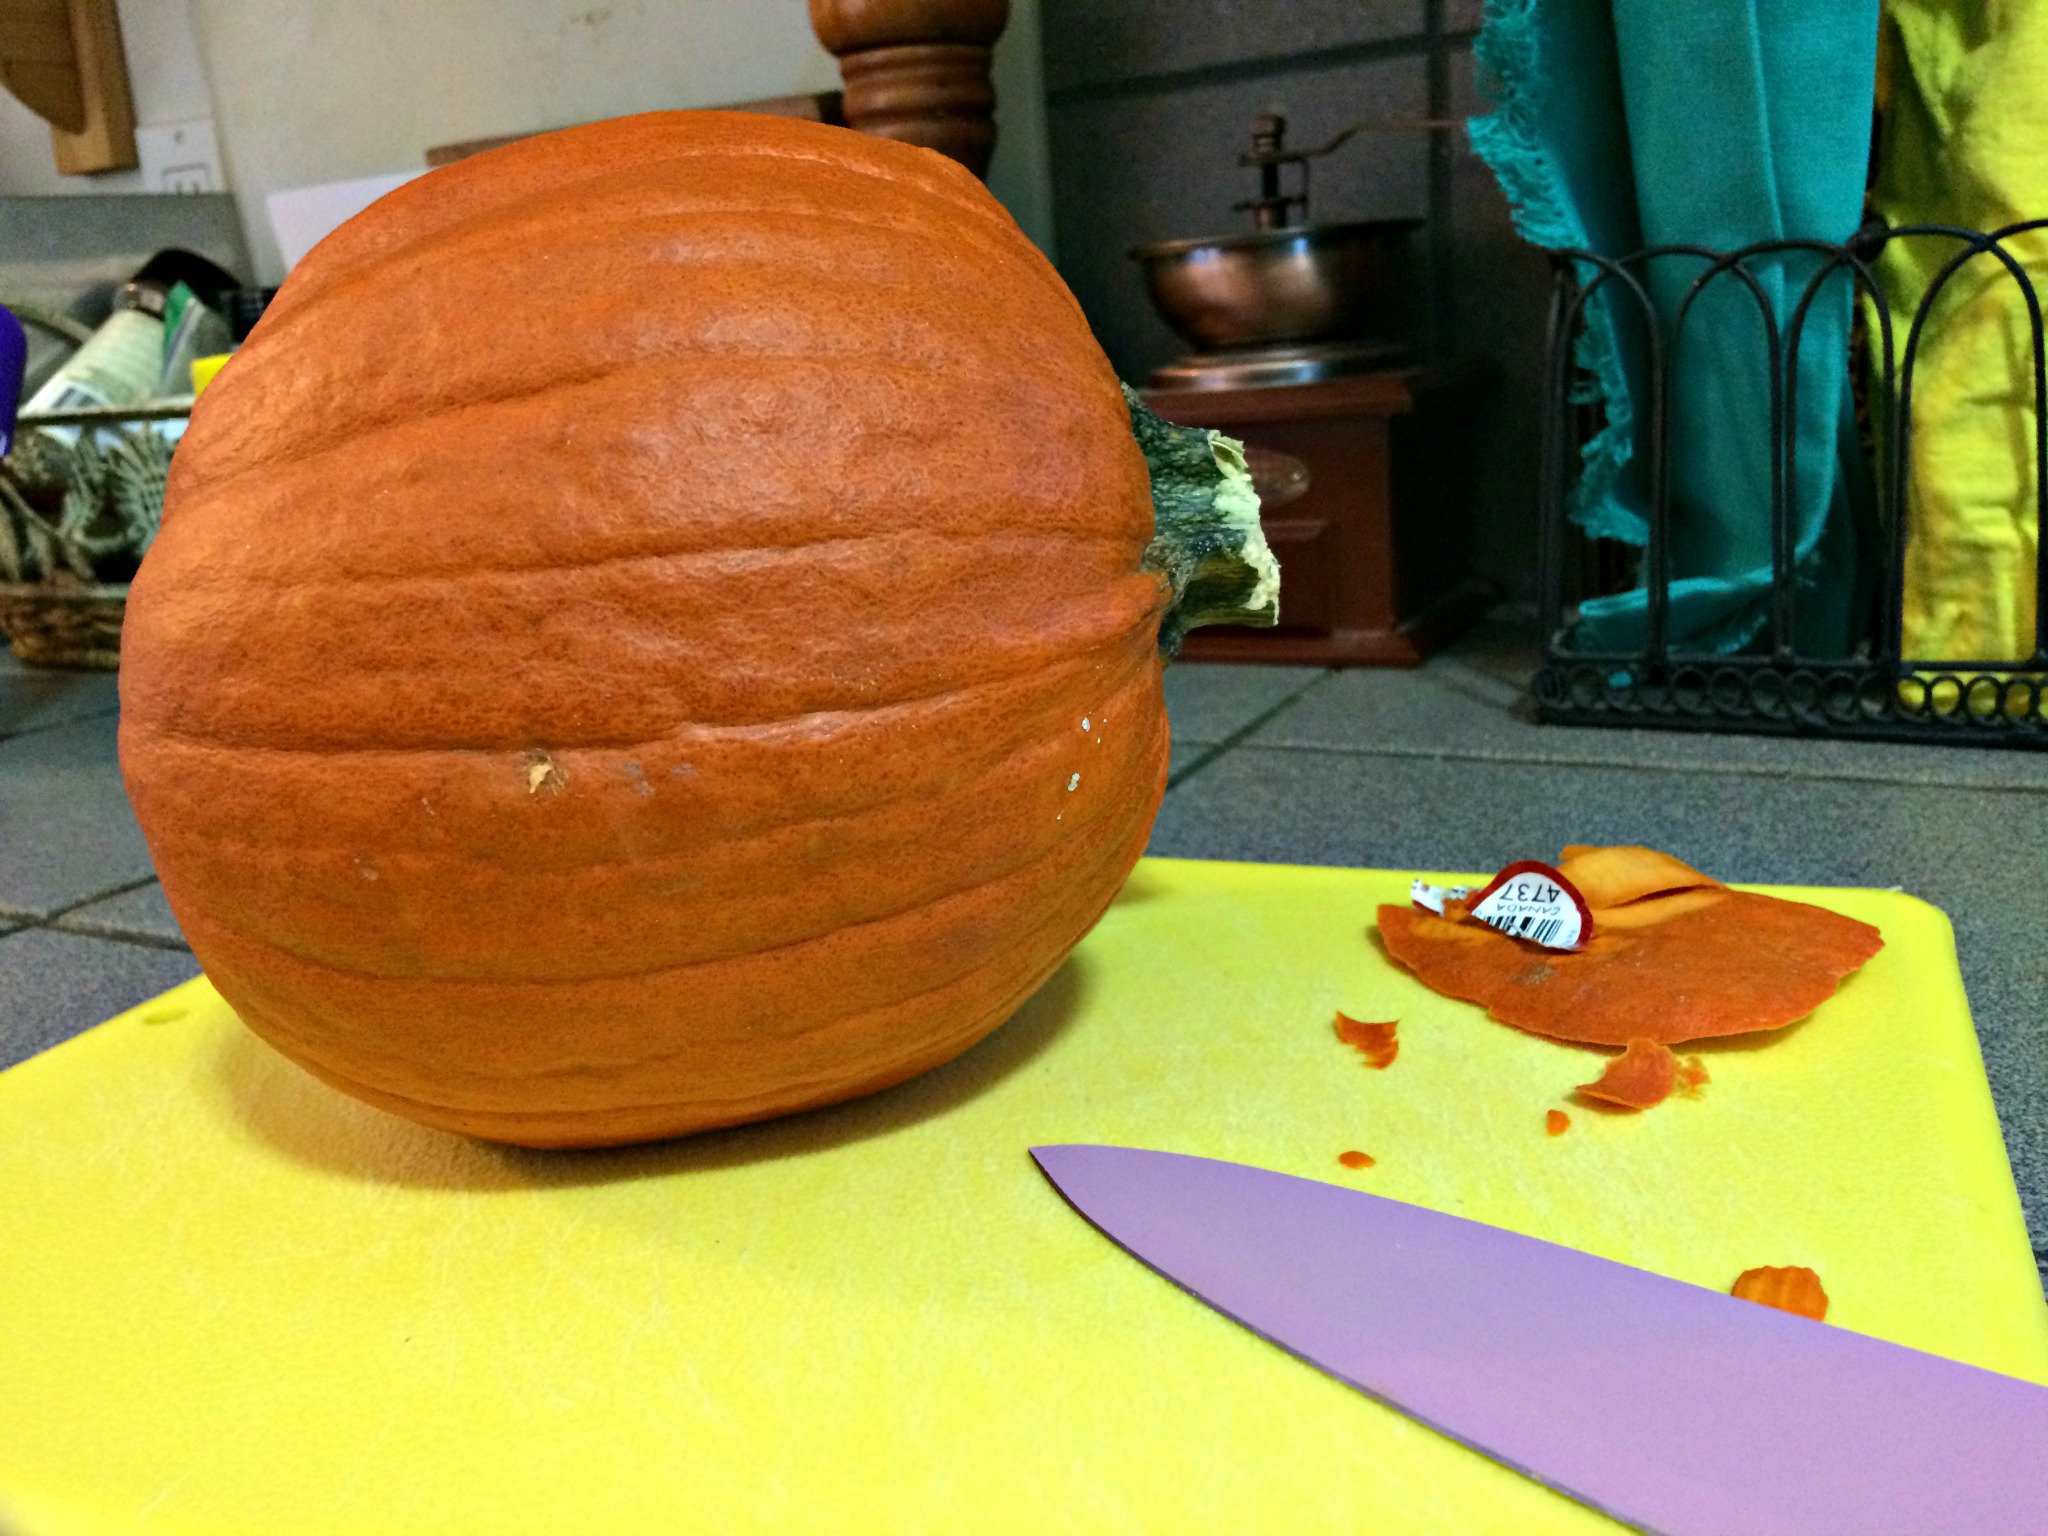
Chop off the stem. With the pumpkin on its side, slice horizontally – stem to bum – to cut the pumpkin into halves.
(Trust me, for whatever reason, it’s easier than tipping it on its bum and slicing down vertically. My purple ceramic knife did the trick, just put your muscles behind it!)
Scoop out the strings and seeds with an ice cream scoop.
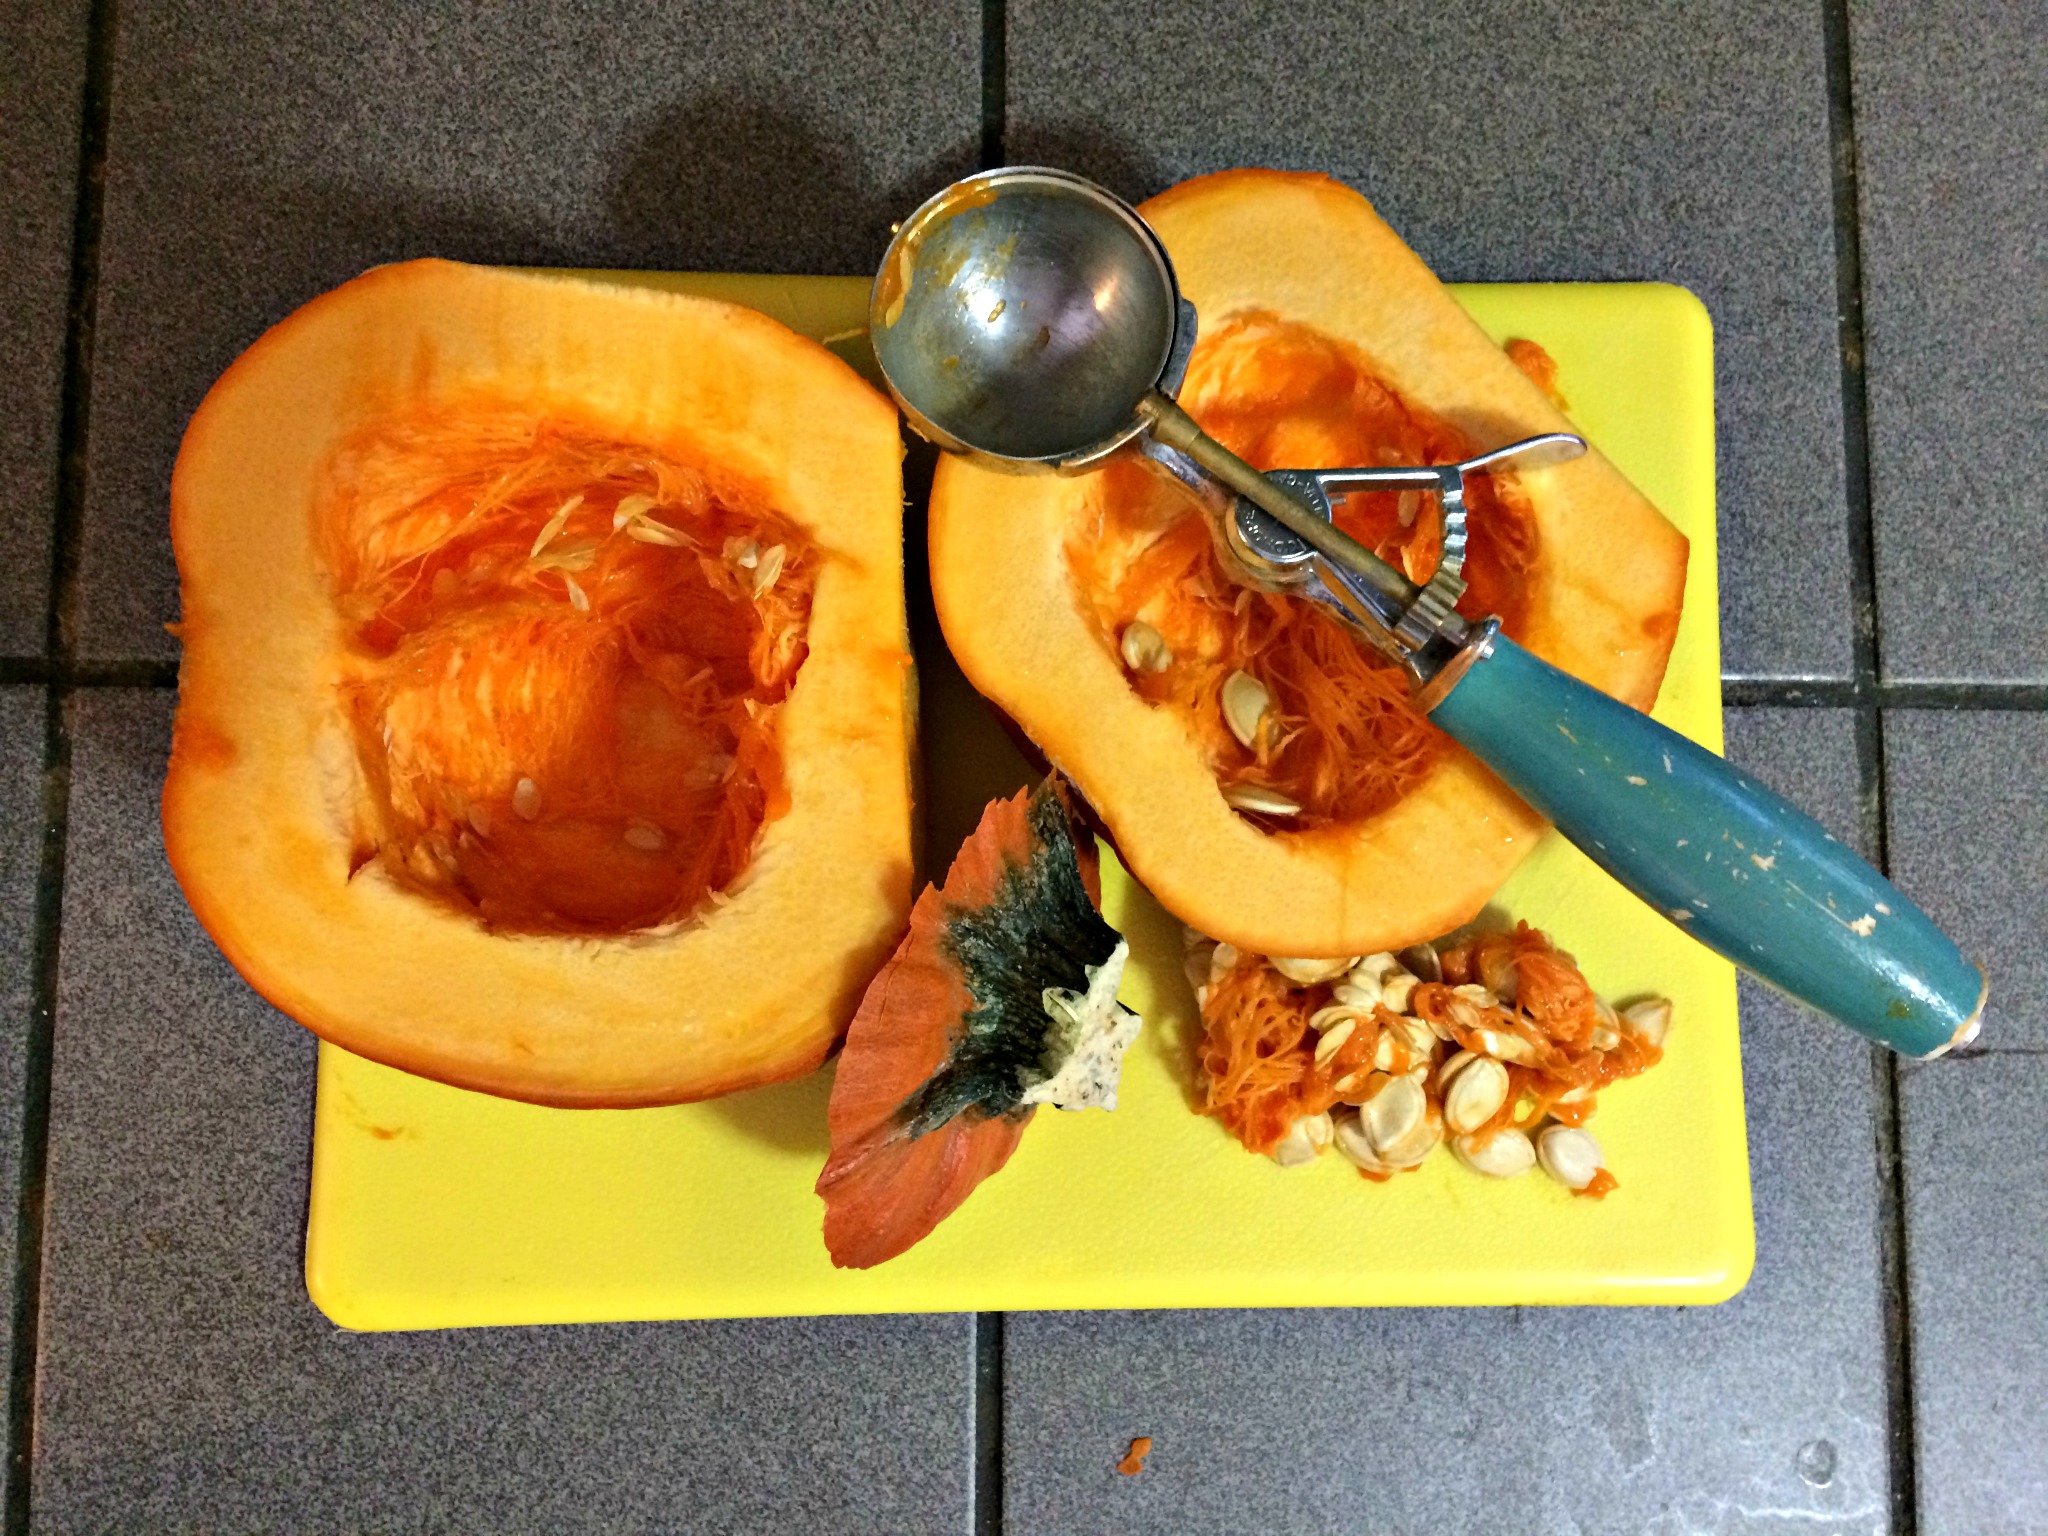
See how there is still some dark orange stringy bits attached inside there? Cut the longer strings with kitchen shears.
Then, grab a spoon and scrape the living daylights out of it. You might get some tiny little bits of flesh that come up with them, but they’re negligible to the overall yield.
If you want to save the pumpkin seeds, now would be the time to do that. (Waste not, want not!) Then you can roast up the pumpkin seeds, yum yum!
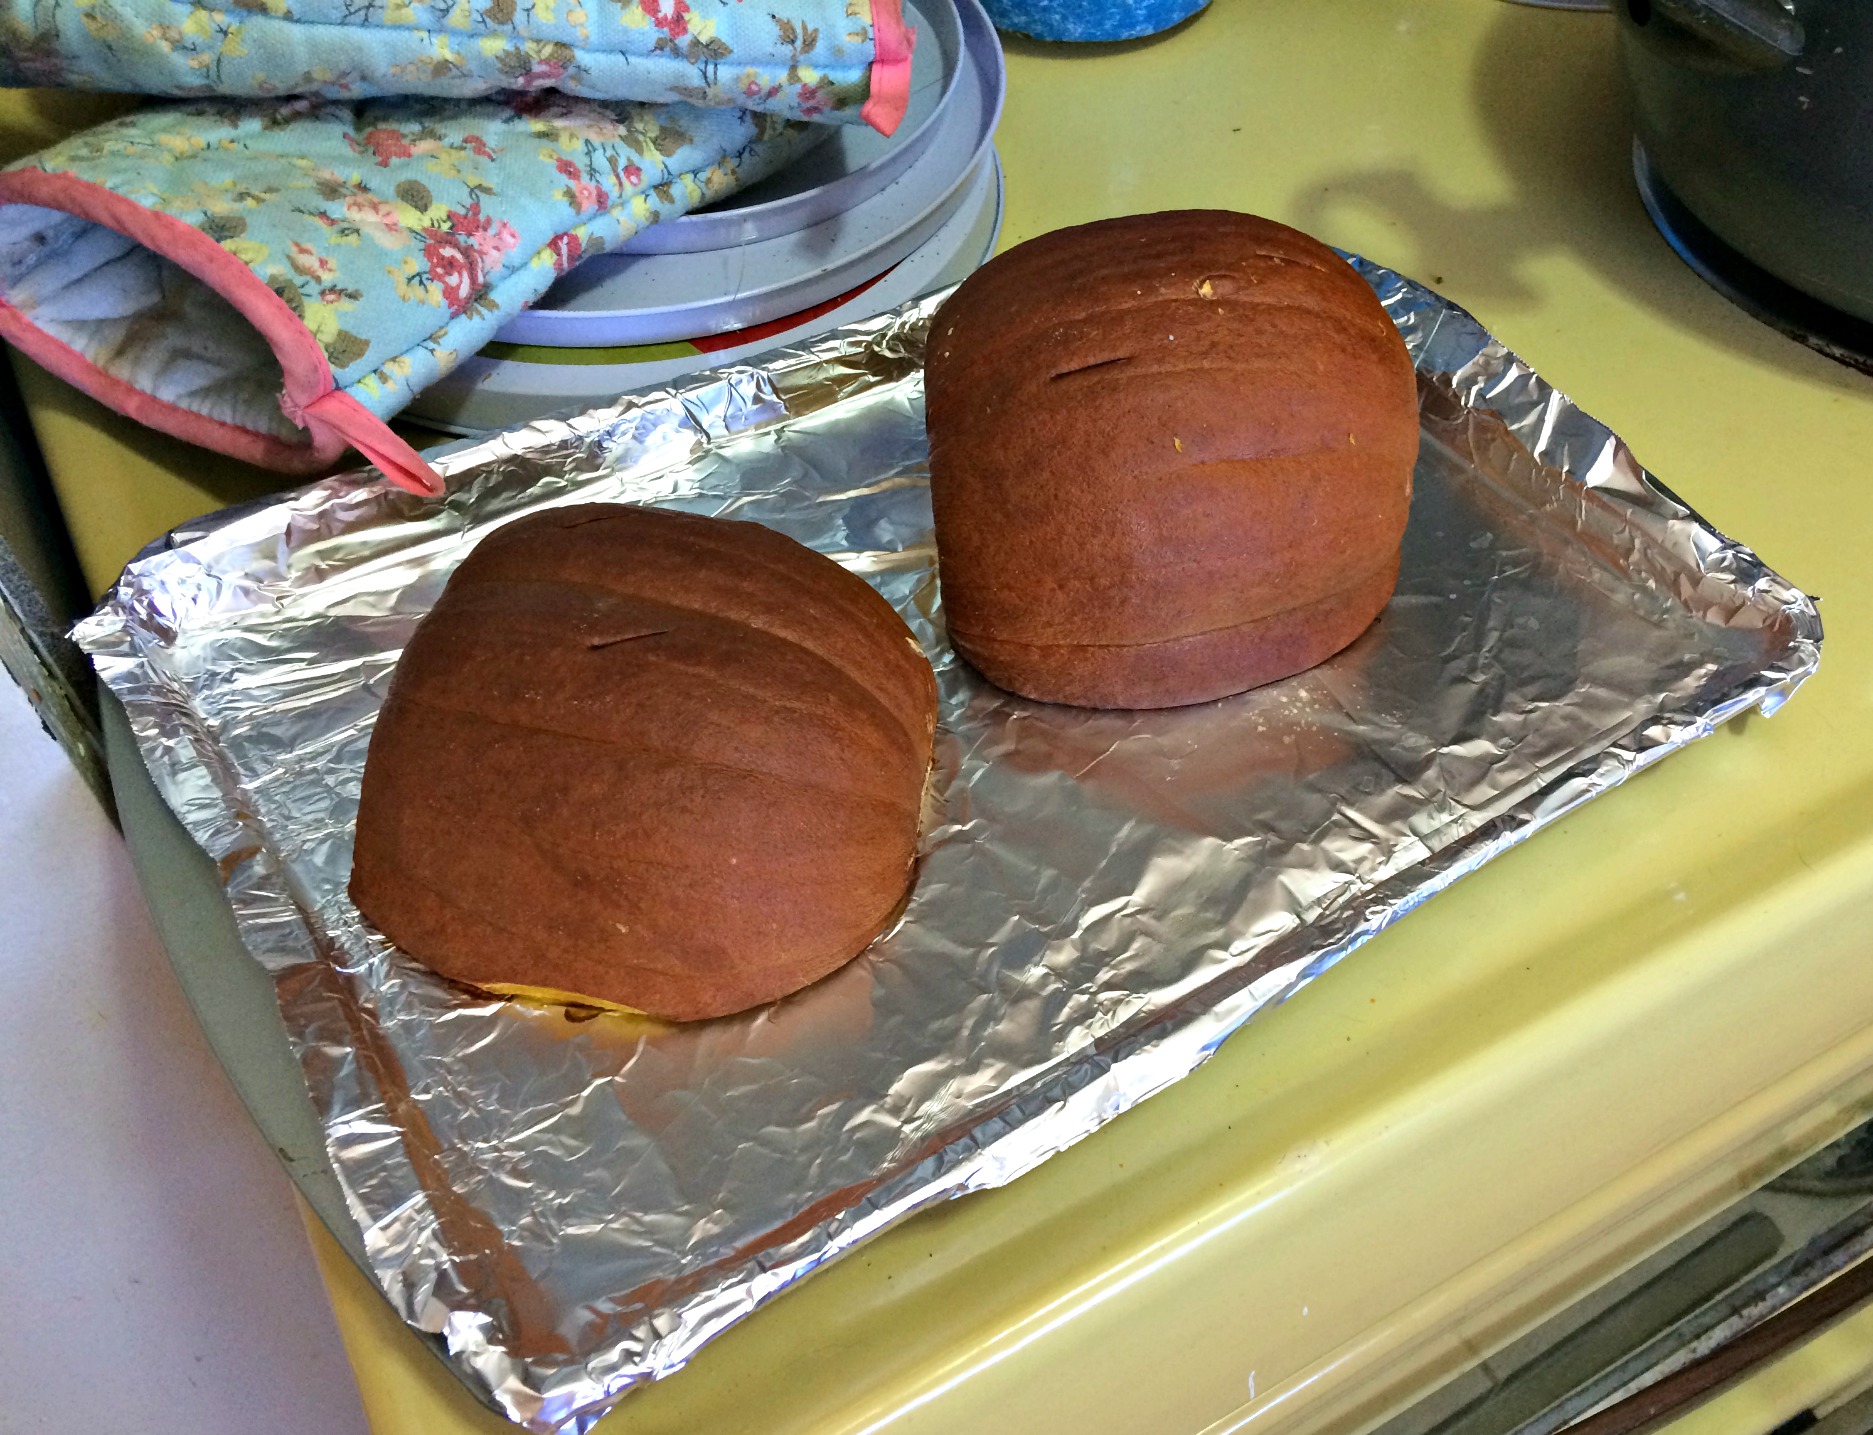
Step 2: Roast
Sprinkle the flesh with kosher salt (a decent pinch) and then lay your pumpkin halves, skin up, on the prepared baking sheet.
Roast the pumpkin in the preheated oven until you can easily slide a knife through the flesh, about 30 to 45 minutes. (Make sure to test with the knife in several places to ensure the pumpkin didn’t roast unevenly!)
Now you need to let those bad boys cool down so you don’t burn your fingers. You should probably slide that sheet onto a cooling rack (I didn’t because I’m bad) and let the pumpkins cool for an hour or so.
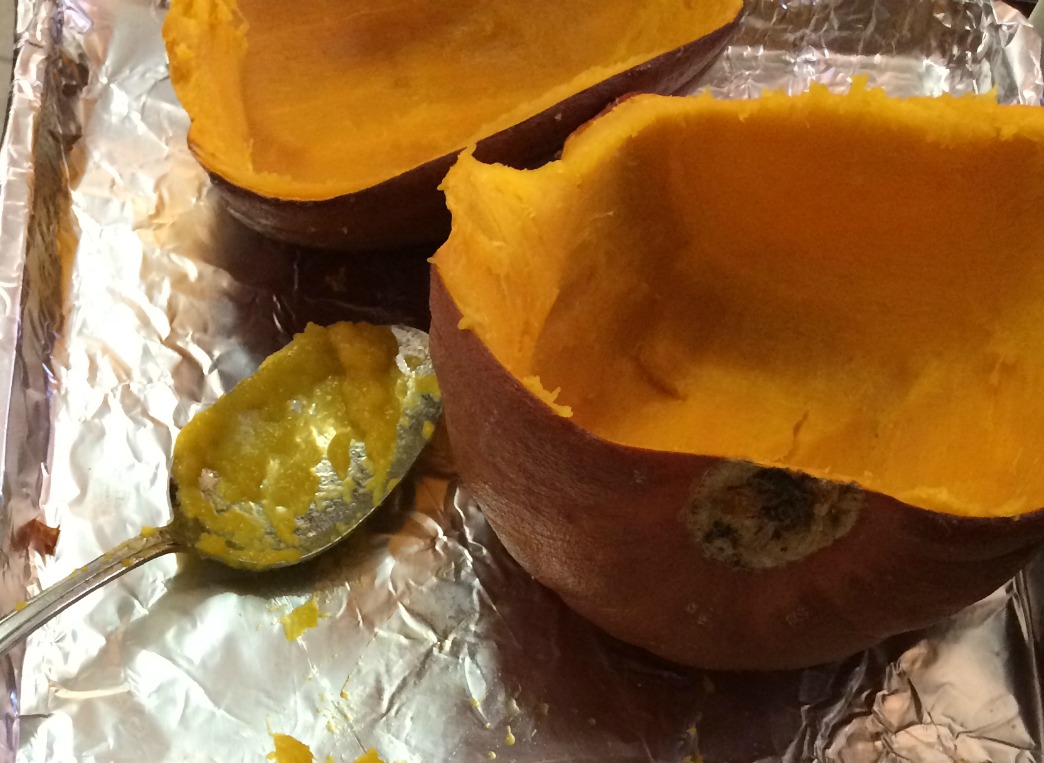
When they’re cool, use a spoon to scoop out the flesh. The spoon will just slide along the inside of the skin, almost like you’re scooping out butter!
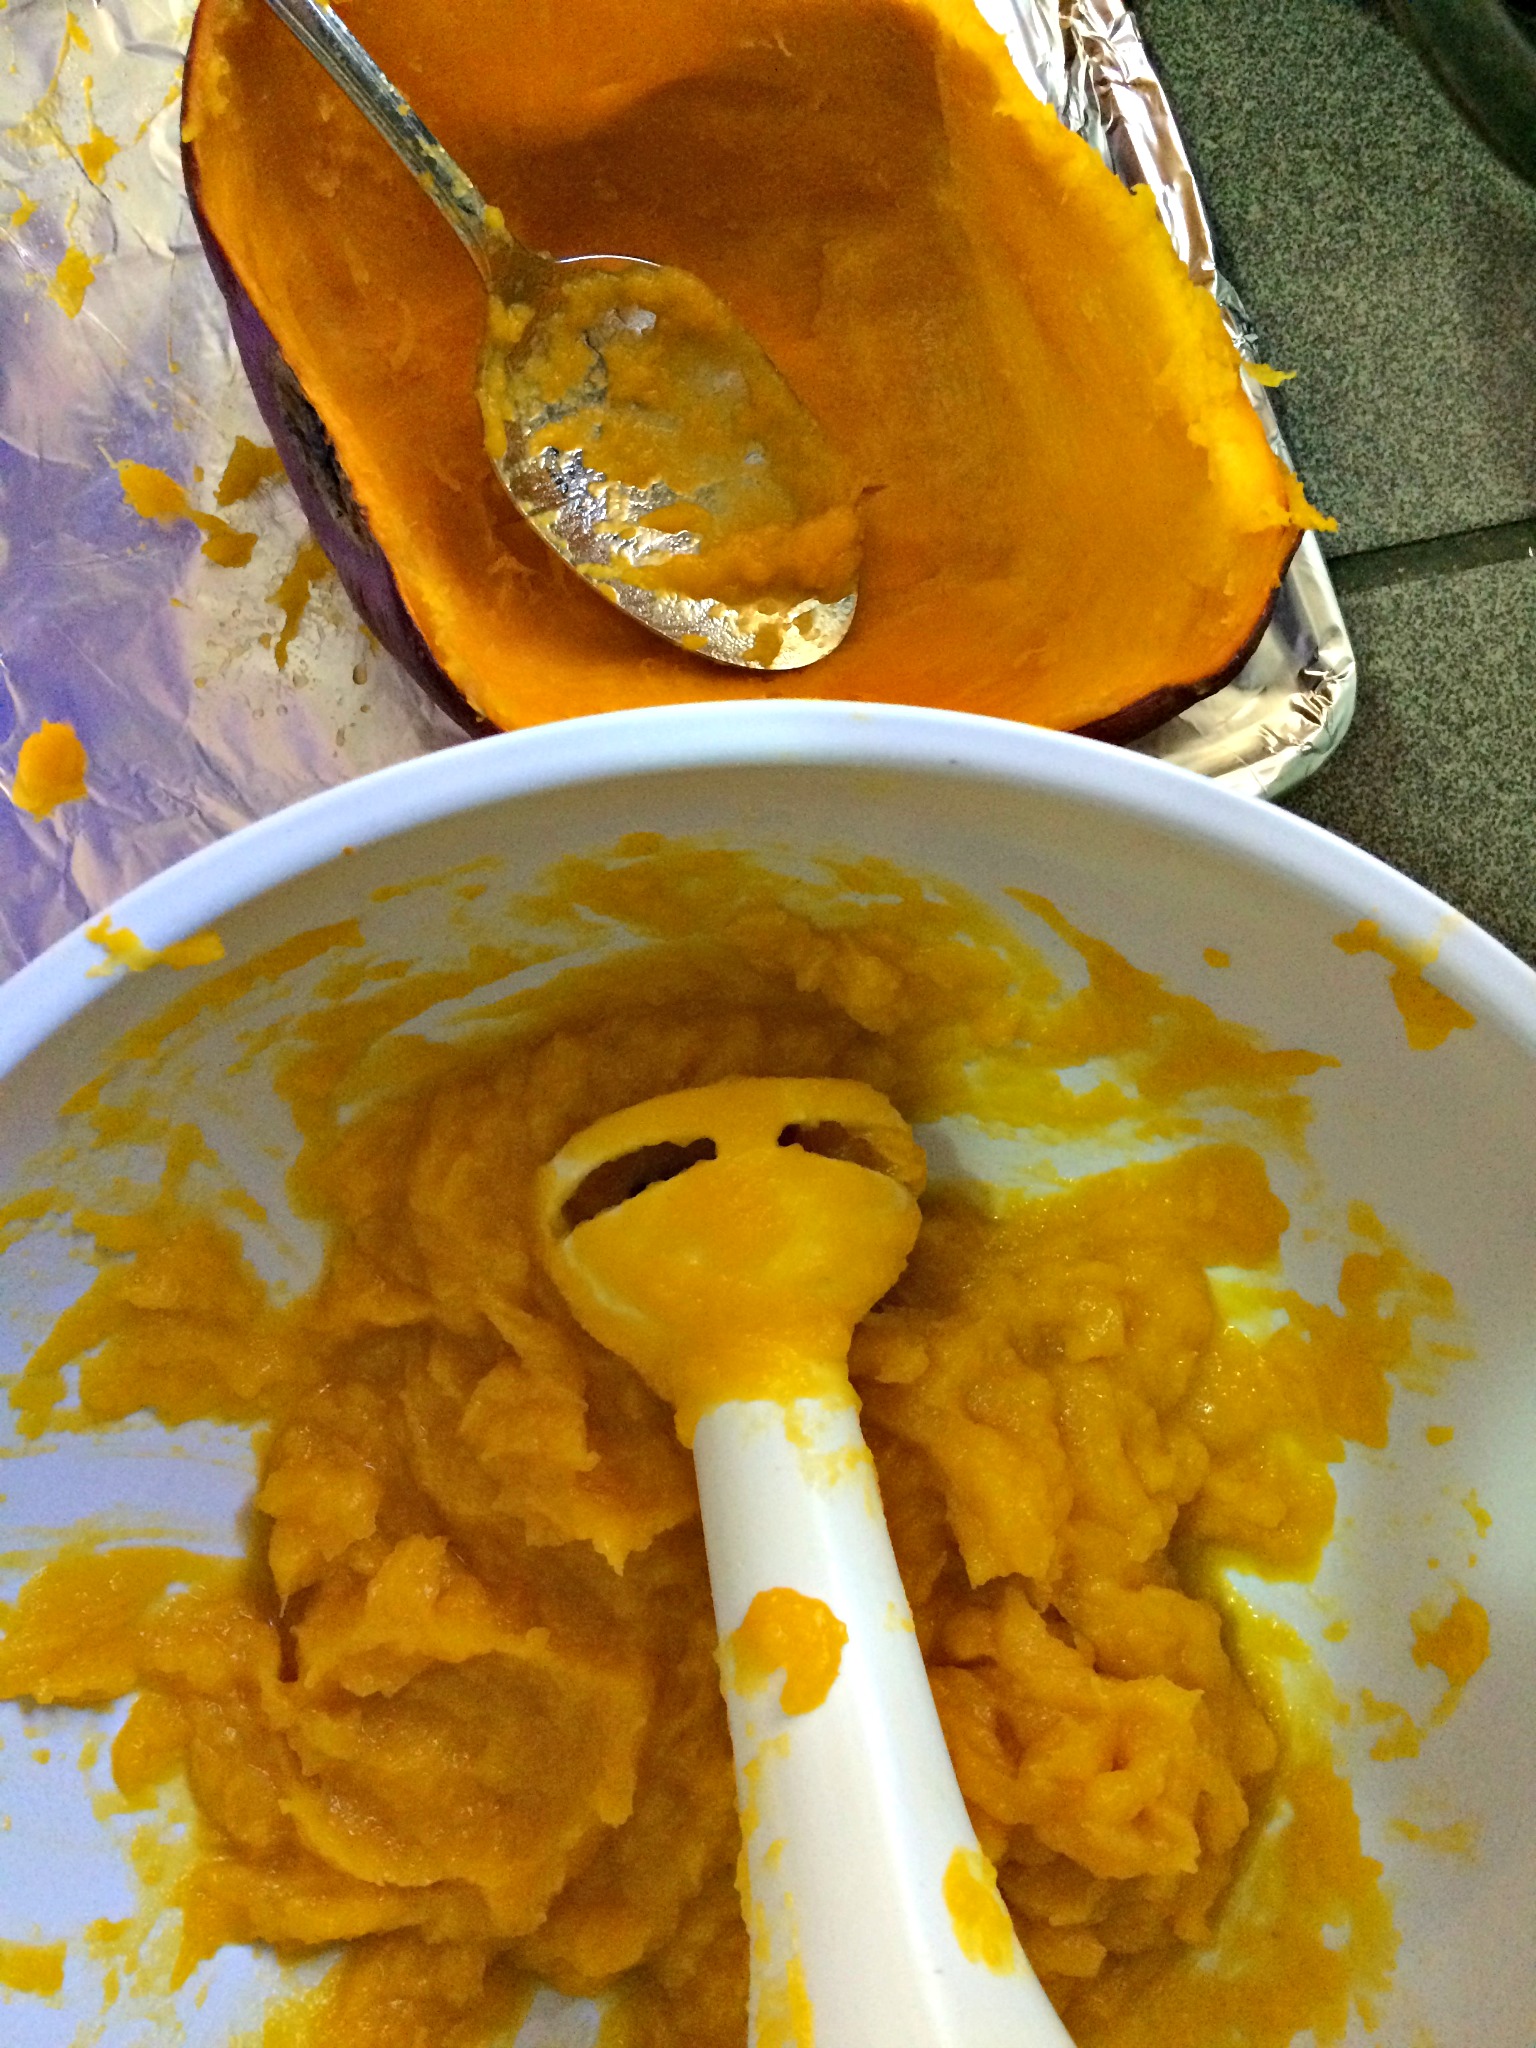
Step 3: Puree!
Normally, I would drop the flesh into a food processor and puree it up that way. However, I was busy prepping other Thanksgiving foods in the food processor, so I used an immersion blender instead. Either way, it did the trick!
This puree can be used in so many recipes – or it can go directly into your dog’s food dish like some of mine did when I first made this recipe years ago.
Store it in the fridge for up to 1 week and in the freezer for up to 3 months!
Bye, canned pumpkin! See you next spring.
Uses for Pumpkin Puree

I already mentioned how we used pumpkin puree all the time – for our dog. Truthfully, a lot of the puree made for this post went straight into her doggie bowl.
It’s also great for babies and toddlers, of course.
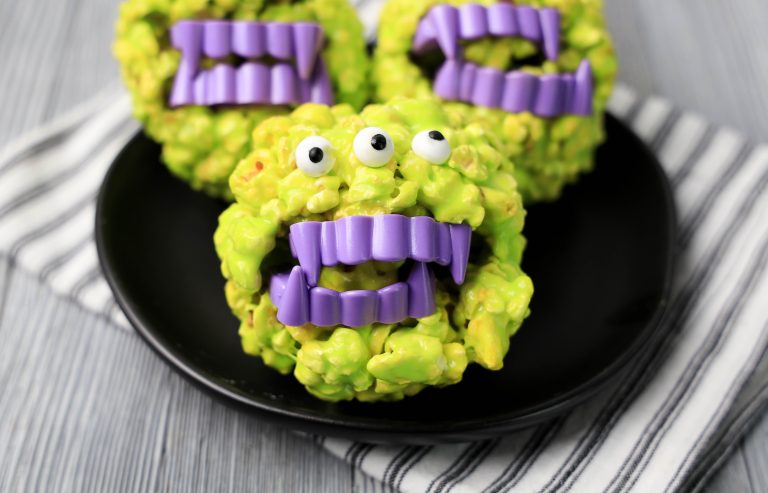
But really the best use for pumpkin puree is in lots of yummy recipes! Here are some fantastic ideas:


6 Comments